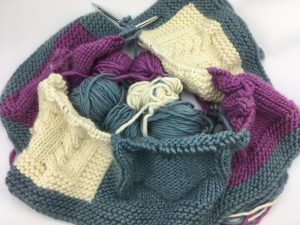
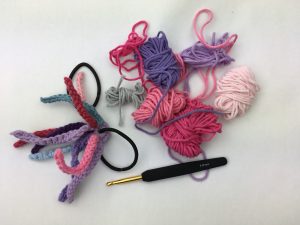
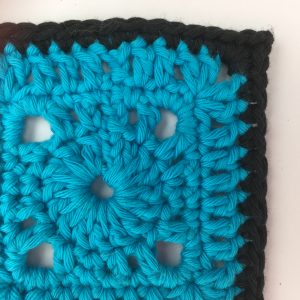
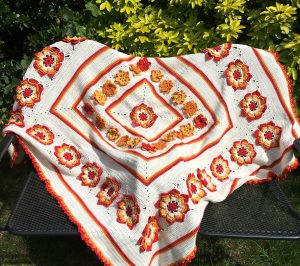
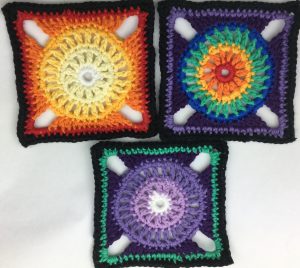
Hello! This post contains a Free Pattern for my Wagon Wheel Block. I wanted to create a block that would lend itself to Ombre projects and would also be suitable for stash busting as I have a lot of small remnants of yarn left over from my larger crochet blanket projects.
The pattern is made of simple stitches so should be suitable for beginners. I made this up in Drops Paris which is 100% cotton in aran weight and works up on a 5mm hook.
Wagon Wheel Block – UK terms
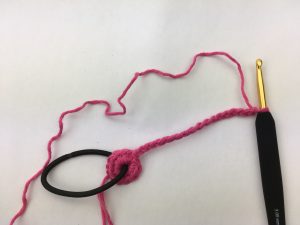
Round 1. Chain five and join to make a circle.
Round 2. Chain 2, work 12 DC into the circle and join with a slip stitch to the second chain that started the round.
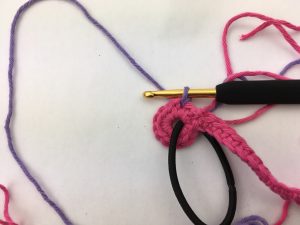
Round 3. Chain 4, (Tr, chain 1) repeat 11 times so that you have thirteen spokes to the wheel – (the chain that started the round plus 12 more spokes). Slip stitch into the third chain of the 4 chains that started the round.
Round 4. chain 2, DC into the space between the trebles on the previous round. (2 DC into the space between trebles) repeat 11 times. So you have two DC between each of the trebles on the previous row. Join with a slip stitch to the second of the chains that started the round.
Round 5. Chain 4, (Tr, chain 1) repeat 24 times so that you have 26 spokes to the wheel – (the chain that started the round plus 25 more spokes). Slip stitch into the third chain of the 4 chains that started the round.
Round 6. Chain 2, DC into the space between the trebles on the previous round. (2 DC into the space between trebles) repeat 24 times. So you have two DC between each of the trebles on the previous row. Join with a slip stitch to the second of the chains that started the round.
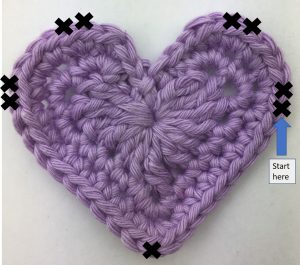
Round 7. Chain 2, (2DC into same stitch, Htr, 2 Tr into same stitch, DTr, chain 5, miss three stitches and DTr into fourth stitch, 2Tr into same stitch, Htr, 2 DC into same stitch, DC, DC) repeat twice, 2DC into same stitch, Htr, 2 Tr into same stitch, DTr, chain 5, miss three stitches and DTr into fourth stitch, 2Tr into same stitch, Htr, 2 DC into same stitch, DC. join with a slip stitch to the second of the chains that started the round.
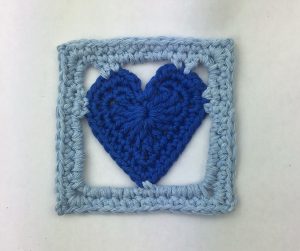
Round 8. Chain 2, DC into each stitch from the row below to the corner 5 chains. Work into each corner 3 DC, 2 chain, 3 DC. Repeat to end of round and join with a slip stitch to the second of the chains that started the round.
Round 9. Chain 2, DC into each stitch from the row below. At each corner work 2DC, chain 2, 2DC into the 2 chain space on the row below. At end of round join with a slip stitch to the second of the chains that started the round.
NOTE – where you are changing colour on each round to create the ombre effect it works well if you move the start of each colour around rather than start and stop in the same place each time.
Wagon Wheel Block – US terms
Round 1. Chain five and join to make a circle.
Round 2. Chain 2, work 12 SC into the circle and join with a slip stitch to the second chain that started the round.
Round 3. Chain 4, (DC, chain 1) repeat 11 times so that you have thirteen spokes to the wheel – (the chain that started the round plus 12 more spokes). Slip stitch into the third chain of the 4 chains that started the round.
Round 4. chain 2, SC into the space between the trebles on the previous round. (2 SC into the space between trebles) repeat 11 times. So you have two SC between each of the trebles on the previous row. Join with a slip stitch to the second of the chains that started the round.
Round 5. Chain 4, (DC, chain 1) repeat 24 times so that you have 26 spokes to the wheel – (the chain that started the round plus 25 more spokes). Slip stitch into the third chain of the 4 chains that started the round.
Round 6. Chain 2, SC into the space between the trebles on the previous round. (2 SC into the space between trebles) repeat 24 times. So you have two SC between each of the trebles on the previous row. Join with a slip stitch to the second of the chains that started the round.
Round 7. Chain 2, (2SC into same stitch, HDC, 2 DC into same stitch, TRC, chain 5, miss three stitches and TRC into fourth stitch, 2DC into same stitch, HDC, 2 SC into same stitch, SC, SC) repeat twice, 2SC into same stitch, HDC, 2 DC into same stitch, TRC, chain 5, miss three stitches and TRC into fourth stitch, 2DC into same stitch, HDC, 2 SC into same stitch, SC. join with a slip stitch to the second of the chains that started the round.
Round 8. Chain 2, SC into each stitch from the row below to the corner 5 chains. Work into each corner 3 SC, 2 chain, 3 SC. Repeat to end of round and join with a slip stitch to the second of the chains that started the round.
Round 9. Chain 2, SC into each stitch from the row below. At each corner work 2SC, chain 2, 2SC into the 2 chain space on the row below. At end of round join with a slip stitch to the second of the chains that started the round
And there it is. I hope you like it as much as I do. Happy Crocheting!
Annie 🙂